
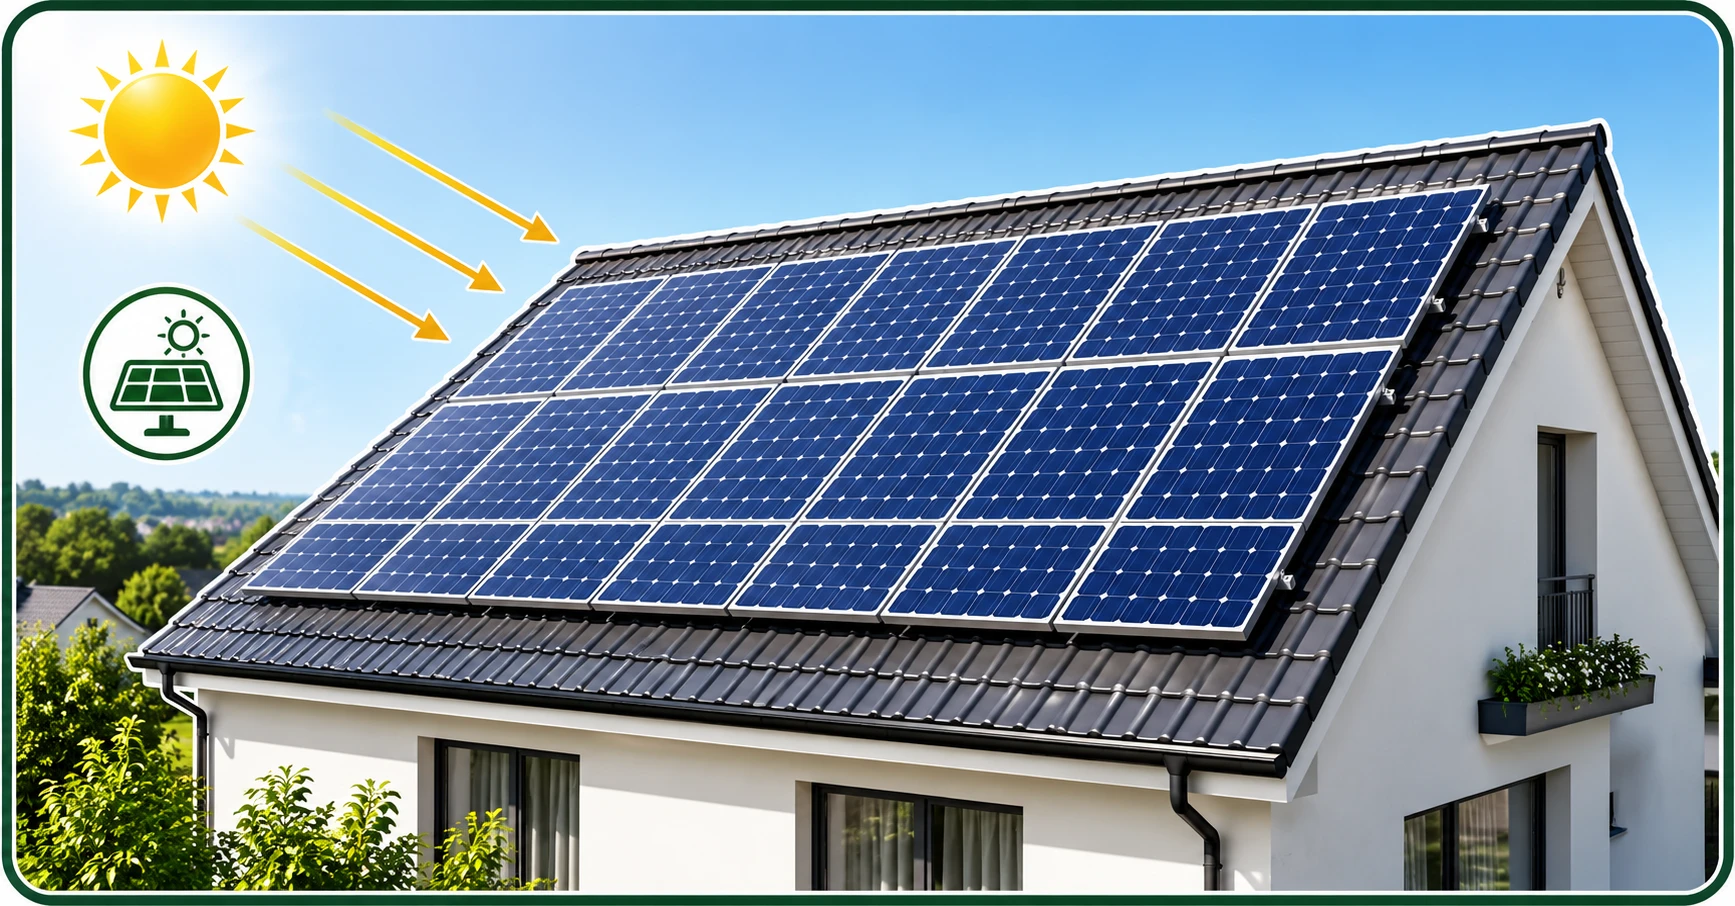
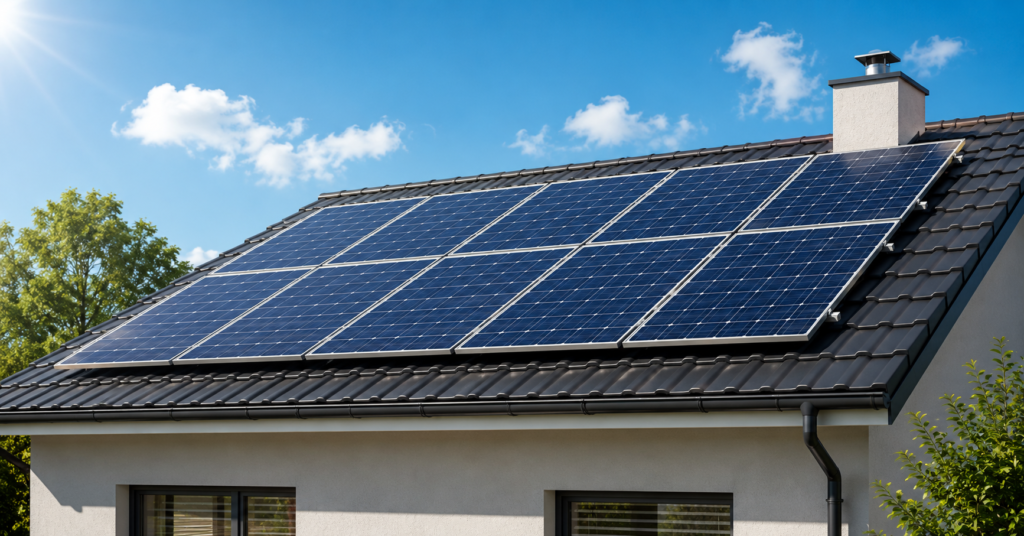
Putting solar panels on the roof is one of the most reliable ways to cut your electricity bill and start generating your own clean power. It is also a project that involves real technical work, from checking whether your roof can carry the load to wiring the system into your home’s electrical supply. This guide walks through the entire process so you know exactly what to expect, whether you plan to hire a professional installer or want to understand the job before you sign a contract.
Is Your Roof Ready for Solar Panels?
Before anyone climbs up with a drill, the roof itself needs a proper check. Not every roof is equally suited to holding a solar array, and skipping this step is one of the most common mistakes homeowners make.
Structural strength. Panels, mounting rails and clamps add real weight to a roof, so an installer (or a structural engineer for larger systems) should confirm that the rafters and trusses can handle the extra load, plus wind and snow pressure. Older homes especially benefit from this check.
Roof material. Metal, tile, asphalt shingle and flat roofs each call for a different mounting approach, which is covered in detail further down.
Roof age and condition. A roof close to the end of its life is not a good candidate for solar just yet. Since panels are built to last 25 years or more, it makes far more sense to repair or replace an ageing roof first rather than removing panels later to redo the roofing underneath.
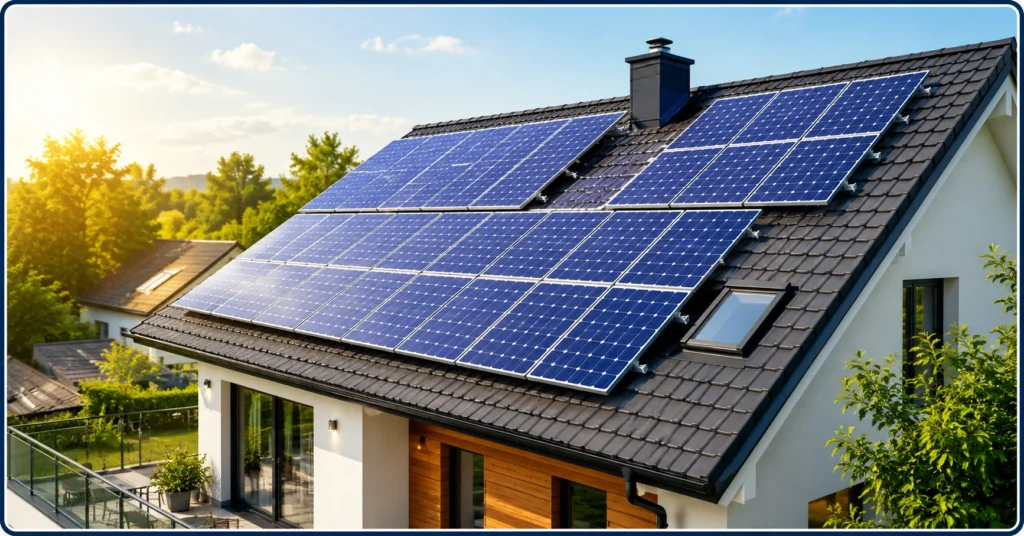
Orientation and shading. A south-facing slope with little shade from trees, chimneys or nearby buildings will always produce the most electricity. East and west-facing roofs still work well, particularly if your household uses more power in the morning or evening.
Once the roof check is complete, set the direction and slope carefully following the best solar panel tilt angle guide.
Even a small shadow from a tree or parapet can cut output noticeably, so it is worth understanding solar panel shading losses first.
What You Need Before Installation Begins
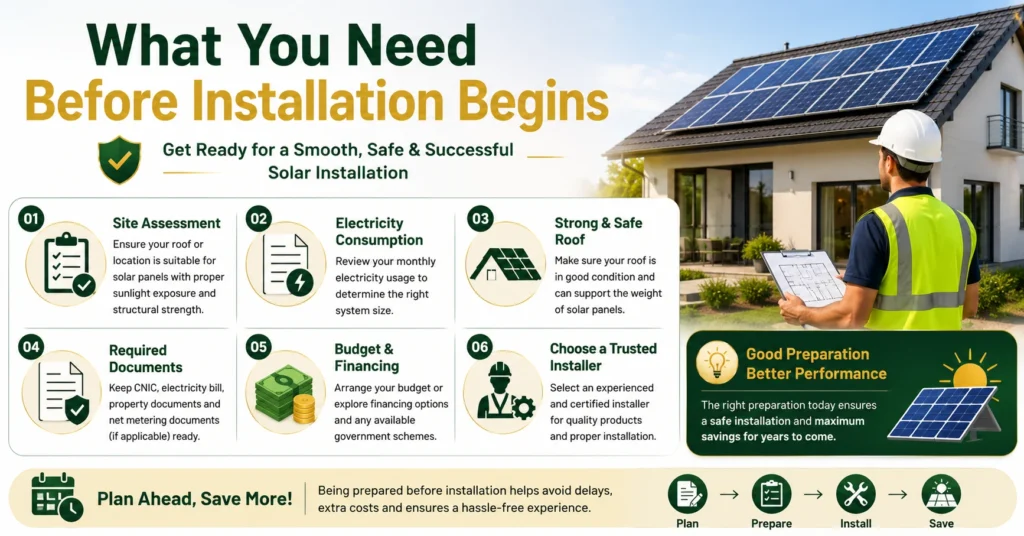
A successful rooftop project depends on preparation just as much as the physical work. Here is what typically needs to be sorted out first:
- Permits and approvals. Most regions require a permit before any electrical or structural work on a roof, and utility companies usually need to approve the interconnection separately.
- System design. An installer will size the system based on your energy usage, available roof space and local sunlight hours.
- Equipment. Solar panels, an inverter (string or micro), mounting rails, roof hooks or brackets, flashing, MC4 connectors, wiring, a generation meter and, optionally, a battery.
- Tools and safety gear. A drill, impact driver, stud finder, caulk gun, harness, hard hat and secure ladder or scaffolding.
Many installers also hand clients a printed or digital step by step guide once the contract is signed, so if you are researching how to install solar panels step by step pdf style, ask your installer whether they provide one alongside the design documents.
How to Install Solar Panels on the Roof Step by Step
This is the core sequence that most rooftop installations follow, whether it is done by a certified crew or a confident DIYer with electrical help on standby.
Step 1: Set Up Scaffolding and Mark the Layout
Before anything touches the roof, scaffolding goes up around the work area for safety. The team then marks exactly where the rafters sit, either from blueprints or with a stud finder, and chalks out the layout for the mounting rails so every anchor point lines up with the design plan.
Step 2: Fix the Roof Hooks and Flashing
Corrosion-resistant hooks or brackets are bolted directly into the rafters, since this is what transfers the weight of the whole system to the strongest part of the roof. Wherever a fixing penetrates the roof covering, flashing is fitted around it to keep the area fully weatherproof. This step is the single biggest factor in whether a roof stays leak-free for the next 25 years.
Step 3: Attach the Mounting Rails
Aluminium rails are bolted onto the roof hooks and levelled carefully. Installers usually double-check that the rails run parallel by comparing diagonal measurements across the array before moving on, since even a small misalignment becomes obvious once the panels go on.
Step 4: Mount the Solar Panels
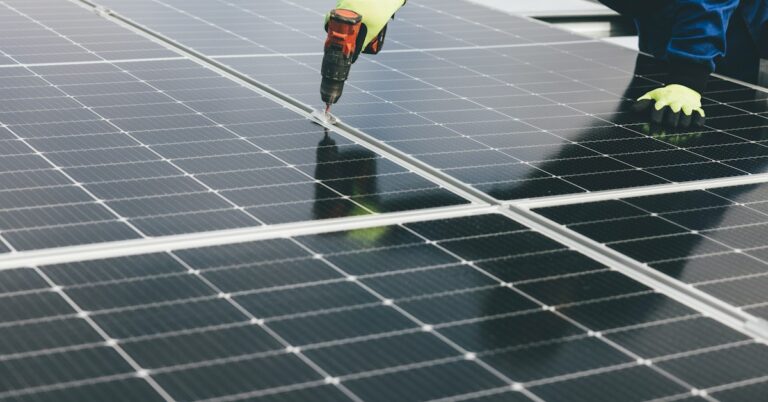
Panels are lifted onto the rails and secured with end clamps at the outer edges and mid clamps between each panel. Wiring connections are usually made just before a panel is bolted down, since the connectors become hard to reach once it is locked in place.
Step 5: Install the Inverter and Wire the System
Microinverters, if used, are fitted to the back of each panel before mounting. A string inverter is instead wall-mounted in a cool, ventilated spot such as a garage or loft, positioned as close to the panels as practical to keep the wiring run short and efficient. From there, cables are routed down through the loft space or external conduit to the inverter location.
Step 6: Connect Panels and Inverter to Your Home’s Electricity
This is where a qualified electrician steps in. The inverter’s output is wired into your consumer unit (fuse box), a generation meter is added to track how much power the system produces, and any battery storage is connected at this stage too. Anyone researching how to connect solar panels to house electricity should know that this final link is one of the few parts of the job that legally needs a licensed electrician in most regions, even in a DIY installation.
Step 7: Test, Commission and Register the System
Once wired, the installer runs electrical tests, switches the system on and confirms the panels are generating power correctly. The installation is then registered with the local grid operator, and any required inspection is scheduled before the system is officially approved to operate.
Installing Solar Panels on Different Roof Types
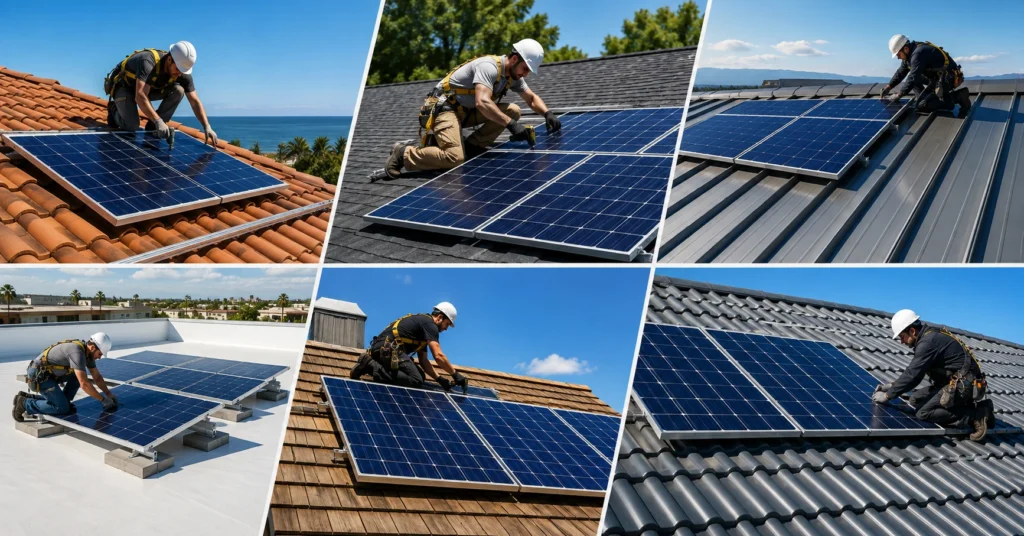
Not every roof is mounted the same way, and the material overhead makes a real difference to cost, speed and technique.
Metal Roofs
Standing seam metal roofs are the easiest and fastest to work with. Panels attach using clamps that grip the seam directly, so there is no drilling at all, no penetrations and virtually no leak risk. A full residential system on a standing seam roof can often be completed in a single day.
Tile Roofs
Mounting solar panels on tile roof surfaces takes more care. Installers either fit a raised rack that sits above the tiles, or carefully lift specific tiles, bolt the anchor into the rafter underneath, seal it with flashing, and replace the tile around the mount. Some tile breakage is possible during this process, so it is worth confirming beforehand whether the installer covers the cost of any tiles that crack.
Flat Roofs
Flat roofs offer more freedom, since panels can be angled to any direction using tilted frames rather than being locked to the roof’s own pitch. Drilling is often avoided entirely by using ballast, such as concrete blocks, to hold the frames in place instead.
Can You Mount Solar Panels Without Drilling?
Yes, in certain situations. Standing seam metal roofs use clamp-based mounting with zero penetrations, and flat roofs can be fitted with ballasted frames that rely on weight rather than screws. Tile and asphalt shingle roofs, on the other hand, almost always need some drilling into the rafters to anchor the system securely enough to withstand wind uplift over the long term.
Installing Solar Panels and Inverters by Yourself: Is DIY a Good Idea?
It is technically possible to install a home system yourself, and DIY kits exist specifically for this. Many homeowners handle the physical work, mounting the racking and panels, and bring in a licensed electrician only for the final connection to the consumer unit. That approach can meaningfully cut costs.
That said, a fully DIY install carries real risks. Permits are frequently tied to certified installers, warranties on both the panels and the roof itself can be voided if the work is not done by a professional, and working at height with electrical wiring is genuinely dangerous without experience. For most households, hiring a certified installer remains the safer and, in the long run, often the more cost-effective route once warranty protection and mistakes are factored in.
How to Install Solar Panels on the Roof in Pakistan
Homeowners looking into how to install solar panels on roof in Pakistan generally follow the same core process described above, with a few local details worth keeping in mind. Pakistan’s strong year-round sunlight makes rooftop solar particularly effective, and south-facing roofs in cities like Lahore, Karachi and Islamabad typically deliver excellent output. Before installation, it is worth checking with your local electricity distribution company about net metering registration, since this determines whether you can sell surplus power back to the grid. Working with a certified local installer also helps ensure the mounting system is rated for local wind loads and that all wiring meets national electrical safety standards.
After Installation: Testing, Registration and Maintenance
Once the system is live, a short list of ongoing tasks keeps it running well:
- Monitor generation. Most inverters connect to an app or web dashboard showing daily output.
- Keep panels clean. Rain handles most of the cleaning naturally, but an occasional wash with water and a soft brush helps in dusty areas.
- Check connections periodically. A yearly visual inspection catches loose wiring or worn components early.
- Watch the inverter. As the component most likely to need replacement over the system’s lifetime, it is worth checking that it is running normally every so often.
Final Thoughts
Getting solar panels on the roof involves several distinct stages, from checking the roof’s condition and securing permits through to mounting, wiring and final commissioning. Each step matters, and cutting corners on flashing, structural checks or the final electrical connection is where most problems start. Whether the work is handled entirely by a certified installer or shared between a confident homeowner and a licensed electrician, understanding the full process makes it far easier to ask the right questions and end up with a system that performs safely for decades.
If you are ready to move forward, get quotes from a few certified local installers, compare their approach to roof assessment and warranties, and choose the one that explains the process as clearly as this guide does.
FAQs: Solar Panels on the Roof
How long does it take to install solar panels on a roof?
A typical residential system takes one to three days, including scaffolding, depending on roof type and system size.
Do solar panels damage the roof?
When installed correctly with proper flashing and anchoring into the rafters, panels do not damage the roof and can even help protect it from direct weather exposure.
Can solar panels be installed on any type of roof?
Most common roof types, including metal, tile, asphalt shingle and flat roofs, can support solar panels, though thatch and a few unusual materials may need specialist solutions.
Do I need planning permission to install solar panels?
In most areas, rooftop solar counts as permitted development and does not need separate planning permission, though listed buildings and conservation areas are common exceptions worth checking locally.
Is it cheaper to install solar panels myself?
A DIY installation can lower upfront costs, but voided warranties, permit issues and safety risks often narrow that gap, so many homeowners choose a hybrid approach with a licensed electrician handling the final connection.
The rails are only part of the hardware, and prices vary a lot by material and design, so compare the main mounting structure types and costs before you commit.



4 Comments